Facebook’s event feature has transformed how businesses promote their events. Traditional methods like print media or signage are less effective now, and everything is moving online, with social media leading the way.
Creating a successful Facebook event requires attention to several key details. One of the most important aspects is using the right photo size and eye-catching visuals. Make sure to include a clear event description along with the correct time, date, and location.
With Facebook events, you can do more than just invite your friends and followers – you can:
- Create discussion
- Encourage sharing
- Automate reminders
- Build anticipation
Brands that aren’t using Facebook for their events are missing out on a great opportunity! It’s really easy to use, and I’ve explained the best practices and the ideal Facebook event photo size. Here are some steps to help you create a professional event on Facebook!
Table of Contents
ToggleWhat is the Facebook Event Photo Size?
Before you begin creating your Facebook event, you will want to create a Facebook event photo with the right size and dimensions. The correct Facebook event photo size has the dimensions of 1920 x 1005 pixels.

The photo size for the new Facebook layout has recently changed. It used to be 1920 x 1080 with a 16:9 aspect ratio, but now it’s different.
If your event photo is less than 1920 pixels wide, Facebook will enlarge it, which can make it look blurry. To avoid this, make sure your photo is exactly 1920 x 1005 pixels. If your photo is too wide or too tall, Facebook will cut it to fit.
If you want to easily create a Facebook event photo banner with the correct size, you can use a free tool like Crafty Art. We offer various Facebook event cover photo templates with the right dimensions!
How to Create a Facebook Event
Now that your Facebook event cover photo is ready, it’s time to set up your event.
To create a Facebook event, go to the left-hand menu on Facebook and find the “Events” tab. Click on it, then click “+ Create Event.”
You will then be prompted to select the options of having either Public or Private event. Once you’ve selected that, a new window will appear for you to fill out the details for your Facebook Event.
- Upload the Facebook event cover photo that you made using Crafty Art.
- Create a name for your event. Pick something that stands out.
- Write a Facebook event description so your guests know what the event is about.
- Choose the right date and time for the event to start and for the event to end.
- Choose a location that is easy for guests to understand and include the full address.
- If your event is open to everyone, choose keywords that will help people find it.

Here are some tips for creating a Facebook event.
Creating events on Facebook is easy, but you can use extra features to make your event stand out. Here are some tips for making your Facebook event shine:
1. Build Credibility for Your Event
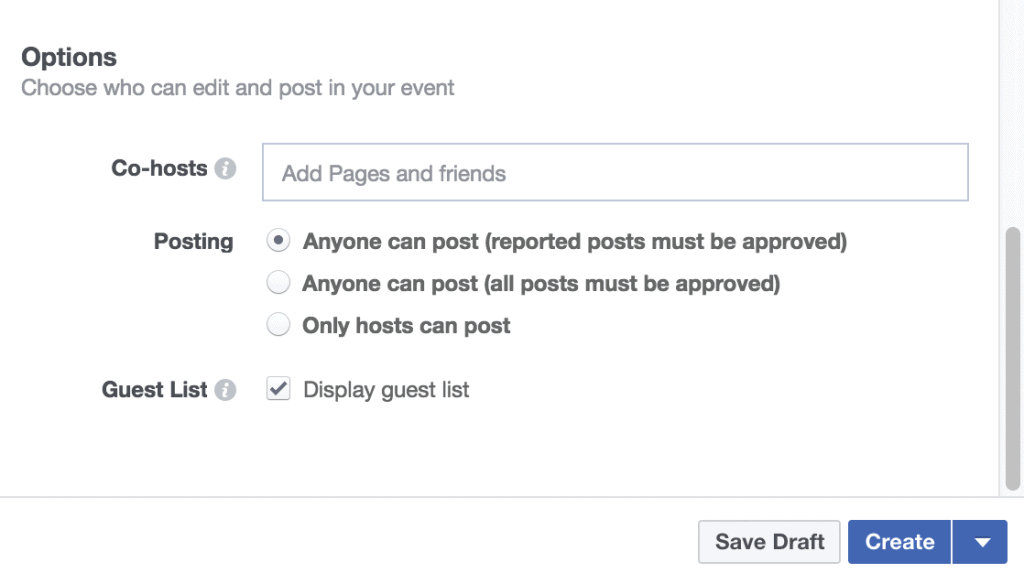
Facebook events let you add admins and other business pages to help manage the event. Partnering with another business or brand can boost your event’s credibility.
Partnering with another brand means you can reach their network and invite list, giving your brand and event more visibility.

2. Create Discussion
Your Facebook event has a section where people can discuss the event and related items. Use this feature to keep your guests engaged and involved.
You can make your event more interactive by creating polls. These polls can ask for suggestions from the group or be fun to keep everyone engaged and interested.
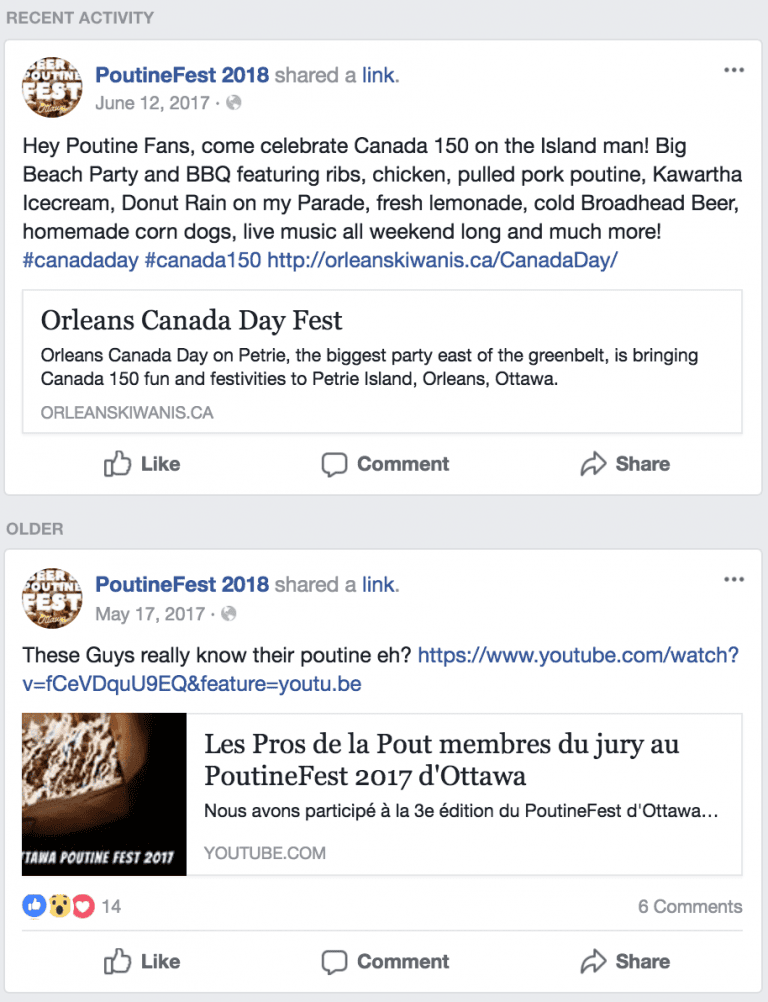
You can share updates or news about the event or industry. For example, concert promoters often post music videos and press releases from artists. This helps get people excited about the event and keeps it fresh in their minds.
It’s crucial to be responsive in your Facebook event discussion. If someone asks a question, answer it publicly so everyone who might have the same question can benefit from your response.

3. Set Expectations for Your Event
Give your guests an idea of what the event will be like, but don’t make promises you can’t keep. If your first event doesn’t meet expectations, it could damage your reputation and drive people away. Negative reviews can impact future events and attendance.
You should include a simple outline of what people can expect at the event. Mention things like the food and drinks, a basic schedule, or other benefits of attending. If you’re serving food or drinks, let people know what will be available and how much it will cost so they can plan ahead.
If you’ve hosted events before, share photos and graphics from past years. This helps users see what to expect and can help sell more tickets or attract more attendees.
Mistakes to Avoid When Creating Facebook Events
Creating Facebook events is simple and can be very effective. However, to ensure your event is successful, it’s important to avoid common mistakes that could hold you back.
1. Posting Too Often
Avoid sending too many messages to your invitees. Only share updates that are important and useful to those who have shown interest in your event.
2. Being Too Vague
Make sure the event details are clear so everyone knows what to expect. Provide all the necessary information in advance and ensure the Facebook event page includes everything needed to avoid confusion when people arrive.
3. Lack of Engagement and Interaction
Creating an event on Facebook is great because you can interact with your invitees. However, it’s important not to be inactive after setting up the event. People will have questions and you should be ready to answer them. If you’re not responsive, it could negatively impact your event turnout.
Final Thoughts
Now, you can interact with your event attendees in more ways and handle questions or clarifications from your office. Make sure to use the correct Facebook event photo size and create eye-catching visuals for your event. Choose an appealing name and write a clear description to build excitement and achieve great results.


